


How to Downgrade from Accordance 14 to Accordance 13
People don't like Accordance 14 because it's buggy and many new features don't work. So here's how to downgrade to Accordance 13 from 14.

Accordance 14 came out a few weeks ago, but many report significant problems with the update. That's why people want to downgrade from Accordance 14 to Accordance 13.
Fortunately, downgrading safely is easy. Here's how to downgrade from Accordance 14 to Accordance 13.
How to Downgrade to Accordance 13 from Version 14

- Right-click the file in the Applications folder on your Mac. Sorry, this only works on a Mac.
- Choose Rename. If you have Accordance 14 installed, then rename it to Accordance 14. It will, by default, be named Accordance.
- Now hit Enter on your keyboard or click anywhere outside the pop-up menu. You've now renamed the app to Accordance 14.
- Install Accordance 13 by downloading it from the Accordance website. Double-click the downloaded file, which is most likely saved in your Downloads folder.
- Drag the file to the Applications folder. This will appear in a window that opens when you double-click the downloaded file. See below.

If you want to clarify that this newly installed copy is version 13, you may want to follow the above steps to rename the new app Accordance 13. Then double-click it or open it from Launchpad.
This should keep all of your customizations and settings in place. You won't need to download the library files again.
How to Backup Accordance Settings
Some people in the Accordance user forums report that this method messed up their library organization and settings. To ensure you can get yours back, backup the right files to quickly restore them if installing Accordance 13 alongside 14 messes up your installation.
Open Finder and go to your Home folder. It will probably have your name on it. Then click on the Go button on the Menu bar while you hold down the OPTION key on your keyboard. This shows Library as a destination. Click on Library and then release the OPTION key.
Click on Application Support and then Accordance in your Library folder. You could just copy all the folders in this Accordance folder to a temporary place, like your Desktop.

After downloading Accordance 13 from the Accordance website, open the file, and the DMG will pop up with two icons. One for Accordance 13 and one for your Applications folder. Drag the Accordance file into the Applications folder. I'd suggest renaming Accordance to Accordance 13, so you can differentiate between versions 14 and 13. Now open it.

Everything should be as it was when you finished customizing things like your library and display theme. If your Library is not in the custom order, you place it in, then restore your files from the backup. You don't really need to restore all of them. Only the Text Library.apref file and the Tool Library.apref file need to be copied back to the proper spot.
Close Accordance, open two Finder windows with the backup folder in one, and open the other to Library, Application Support, Accordance, and Accordance Preferences. Drag the Text Library.apref and the Tool Library.apref from the backup folder to the Library folder.

Google Chrome for Mac Users Update Now
Update Google Chrome for Mac right away thanks to a zero day bug that can let malicious hackers do damage to your system.
Do you use a Mac and run Google Chrome for Mac as your browser of choice? Then update it right away.
The update fixes a security hole in Google Chrome for Mac that would let a malicious attacker harm your computer if you went to a specifically coded website meant to take advantage of the vulnerability.
Google rates the vulnerability with its HIGH designation, meaning it is severe and needs updating quickly. Here's how to fix the problem.
Please see our best Bible apps on ChromeOS and More
How to Update Google Chrome for Mac
Open Chrome and click on Chrome in the menu bar at the top left of the screen. Then choose Preferences. You could also use the keyboard shortcut COMMAND+, (that's a comma).

Now click on the About Chrome link in the lower left corner of the Settings page (#1 above) and then look at the status of the updater (#2 above). If you turned on Automatically update Chrome for all users, then it will automatically download this update. Click on Relaunch (#3 above) when it finishes downloading the update.

On other computers, users can find the Google Chrome settings in the menu found at the right end of the toolbar with the URL bar, as seen above. Click the Menu button (three vertical dots) and then click on Settings.
Should You Use Google Chrome or Safari as Your Mac Browser?
Security problems like this seem frequent in Google Chrome on the Mac. That leads many to wonder if they should use Safari instead.
Prefernce dictates which browser you should use. The options include...
Safari - it's built into macOS and seems a little more security pulse you can blog ads and use a user-friendly reading view more easily. There aren't as many plugins, which means it may come with more security but less functionality. Also, pages sometimes don't load as well.
Google Chrome - users can customize it with a larger collection of plugins and features, making it more vulnerable. The browser software itself seems to come with more security issues lately. It works better with a larger percentage of websites than Safari. I've seen more problems with Safari lately.
Firefox - also comes with a lot of plugins and greater speed, but sometimes suffers because websites don't test for Firefox compatibility due to how unpopular it is.
Others to consider - Brave, Opera, Edge Chromium (yes that Edge).

5 Ways to Build a Digital Theological Library
Here are 5 tips to help you save money while you build a digital theological library for your Bible study and research.

How big is your Digital Theological Library compared to your traditional book library? When I went to Southeastern Baptist Theological Seminary back in the mid-90s, our seminary President told us we should graduate with a library of at least 2,000 books. Compare that to the size of my digital library, and the digital library now blows Dr. Patterson's challenge away! In Logos, I own nearly 8,000 books. Add to those libraries in Accordance, Olive Tree, Laridian PocketBible, and other mobile apps, and it probably jumps to 5 times Dr. Patterson's 2,000 book library count challenge.
While my total book count soars past the 2,000 books my seminary President recommended, how many of those books have I read or do I use regularly? Far fewer! I've wasted a lot of money and hard drive space on books I don't use or need.
Other people struggle because they can't afford a huge library of books. They only own a selection of public domain books in e-Sword or some other free or incredibly low-cost app or program. How can a person like this grow their library to a useful size?
I've got 5 helpful strategies to build a digital theological library. Follow these and you won't overbuy nor will you struggle with a meager library that limits your digital Bible study research.
Don't Overbuy Your Digital Theological Library
Video by Matthias Groeneveld from Pexels
It's tempting when there's a great deal on a new collection of books or low-cost add-ons to your digital theological library. However, many collections will include a large number of books, but few that you'll actually use. I took a look at a collection from one major Bible software maker. It costs $1,000, but that price adds over $10,000 worth of books. You'll get 250+ books. They offer a monthly payment plan under $60. In the collection, you'll get...
- 17 English Bibles - only 5 of which would I ever use
- 137 Commentary Volumes - but I'd only likely consult 3 of them
- 11 Bible Dictionaries - 3 of which looked valuable to me
- 200+ Other Books - only about a dozen of these seemed valuable to me
Peruse the major Bible software maker's websites, and you'll find a similar situation. Tons of books bragging thousands of dollars in savings, but about 10% are books most average pastors or Bible teachers will use.
Buy a base package, but don't overbuy. Get one that gives you all the features and an introductory collection of Bibles, commentaries, dictionaries, lexicons, and more. Resist the temptation to buy expensive collections to get more total books.
Try to Focus on One Bible Software Platform
At one time I owned...
- Logos
- Accordance
- Bibleworks
- WordSearch
- Laridian
- Mantis Bible
- Olive Tree
- QuickVerse
- PC Study Bible
- Tecarta
I installed all of them on my computers, tablets, and phones. However, I never really used them all. However, I felt like I needed my favorite Bibles, commentaries, and language tools in each of them. That leads to buying books multiple times.

I'm unique because I write about Bible software. The average person should focus on one Bible software platform and use it on all their devices. That way, they avoid buying too many programs or buying more than one copy of books.
Which Bible software platform should people buy? If you own one now, then stick with it. That changes if you're unhappy with what you use now. I can't recommend one in this space. However, let me offer suggestions.
- Make sure your chosen software runs well on all the platforms you use. For example, one maker has great tools for Mac and Windows, but their mobile software's not as good. Another one focused on mobile, but the Mac or Windows programs don't run well. Nobody makes an excellent Linux program.
- Look for a program that lets you buy books and gives away the book reader or charges for one platform but doesn't make you buy one program for each operating system.
- Try before you buy so you can test what each program or app does. Buy the ones that do what you want really well and don't settle. Take your time to buy the right platform for you. Scholars should avoid mobile-first applications. People who only need a Bible reader with dictionaries, study Bibles, and maps, should avoid paying hundreds for a complicated program.
Find Ways to Use 2 Bible Software Programs Together
Believe it or not, you can run 2 programs together. Why would you? Maybe you already own one program but see features in another program or app. It's possible that some books don't come on your favorite program or app. You may have to use two to get all the books you need for your work.

Look for ways that the programs can work together. This really applies mainly to two programs, Accordance, and Logos. Accordance includes a built-in web browser. Logos offers a web-based version of their program. So, you can open the Logos Web App inside Accordance. I wrote about this previously. However, the instructions are slightly out of date. But you can read it to get the basic gist of how to run Accordance and Logos together.
Save Money With Packages, Deals, and Training Opportunities
Earlier, we said to avoid packages full of books you won't use. However, you can save some money by finding collections or packages of books that you will use. If you see a package that includes many books that you will use, get it and save money.
Also, sign up for alerts to learn when your software maker offers specials or deals, including free books. Most of them offer a freebie occasionally, and some offer them weekly or monthly. Also, you can save money by regularly looking at their website or subscribing to email notifications.
Take advantage of training deals. Some companies offer deals for people who sit through an online live webinar or attend a training conference. See if your software maker offers these kinds of deals. You'll learn more about using your program, and you'll get a deal on some books you want to buy.
Finally, you can sometimes get hidden deals by contacting the software maker's sales staff. For example, I have a salesman with one program seller, and he often knows about specials that don't show up on the website. So he sends me an email when one of these deals shows up.
Don't Forget Free Content on the Internet or eBooks
Using one program for all your Bible study needs feels convenient, but it can cost more. Plenty of websites offer free content that can help you study the Bible, especially if you're not a Bible scholar. Find free websites like those in my roundup of the 6 best Bible study sites, part one and part two.
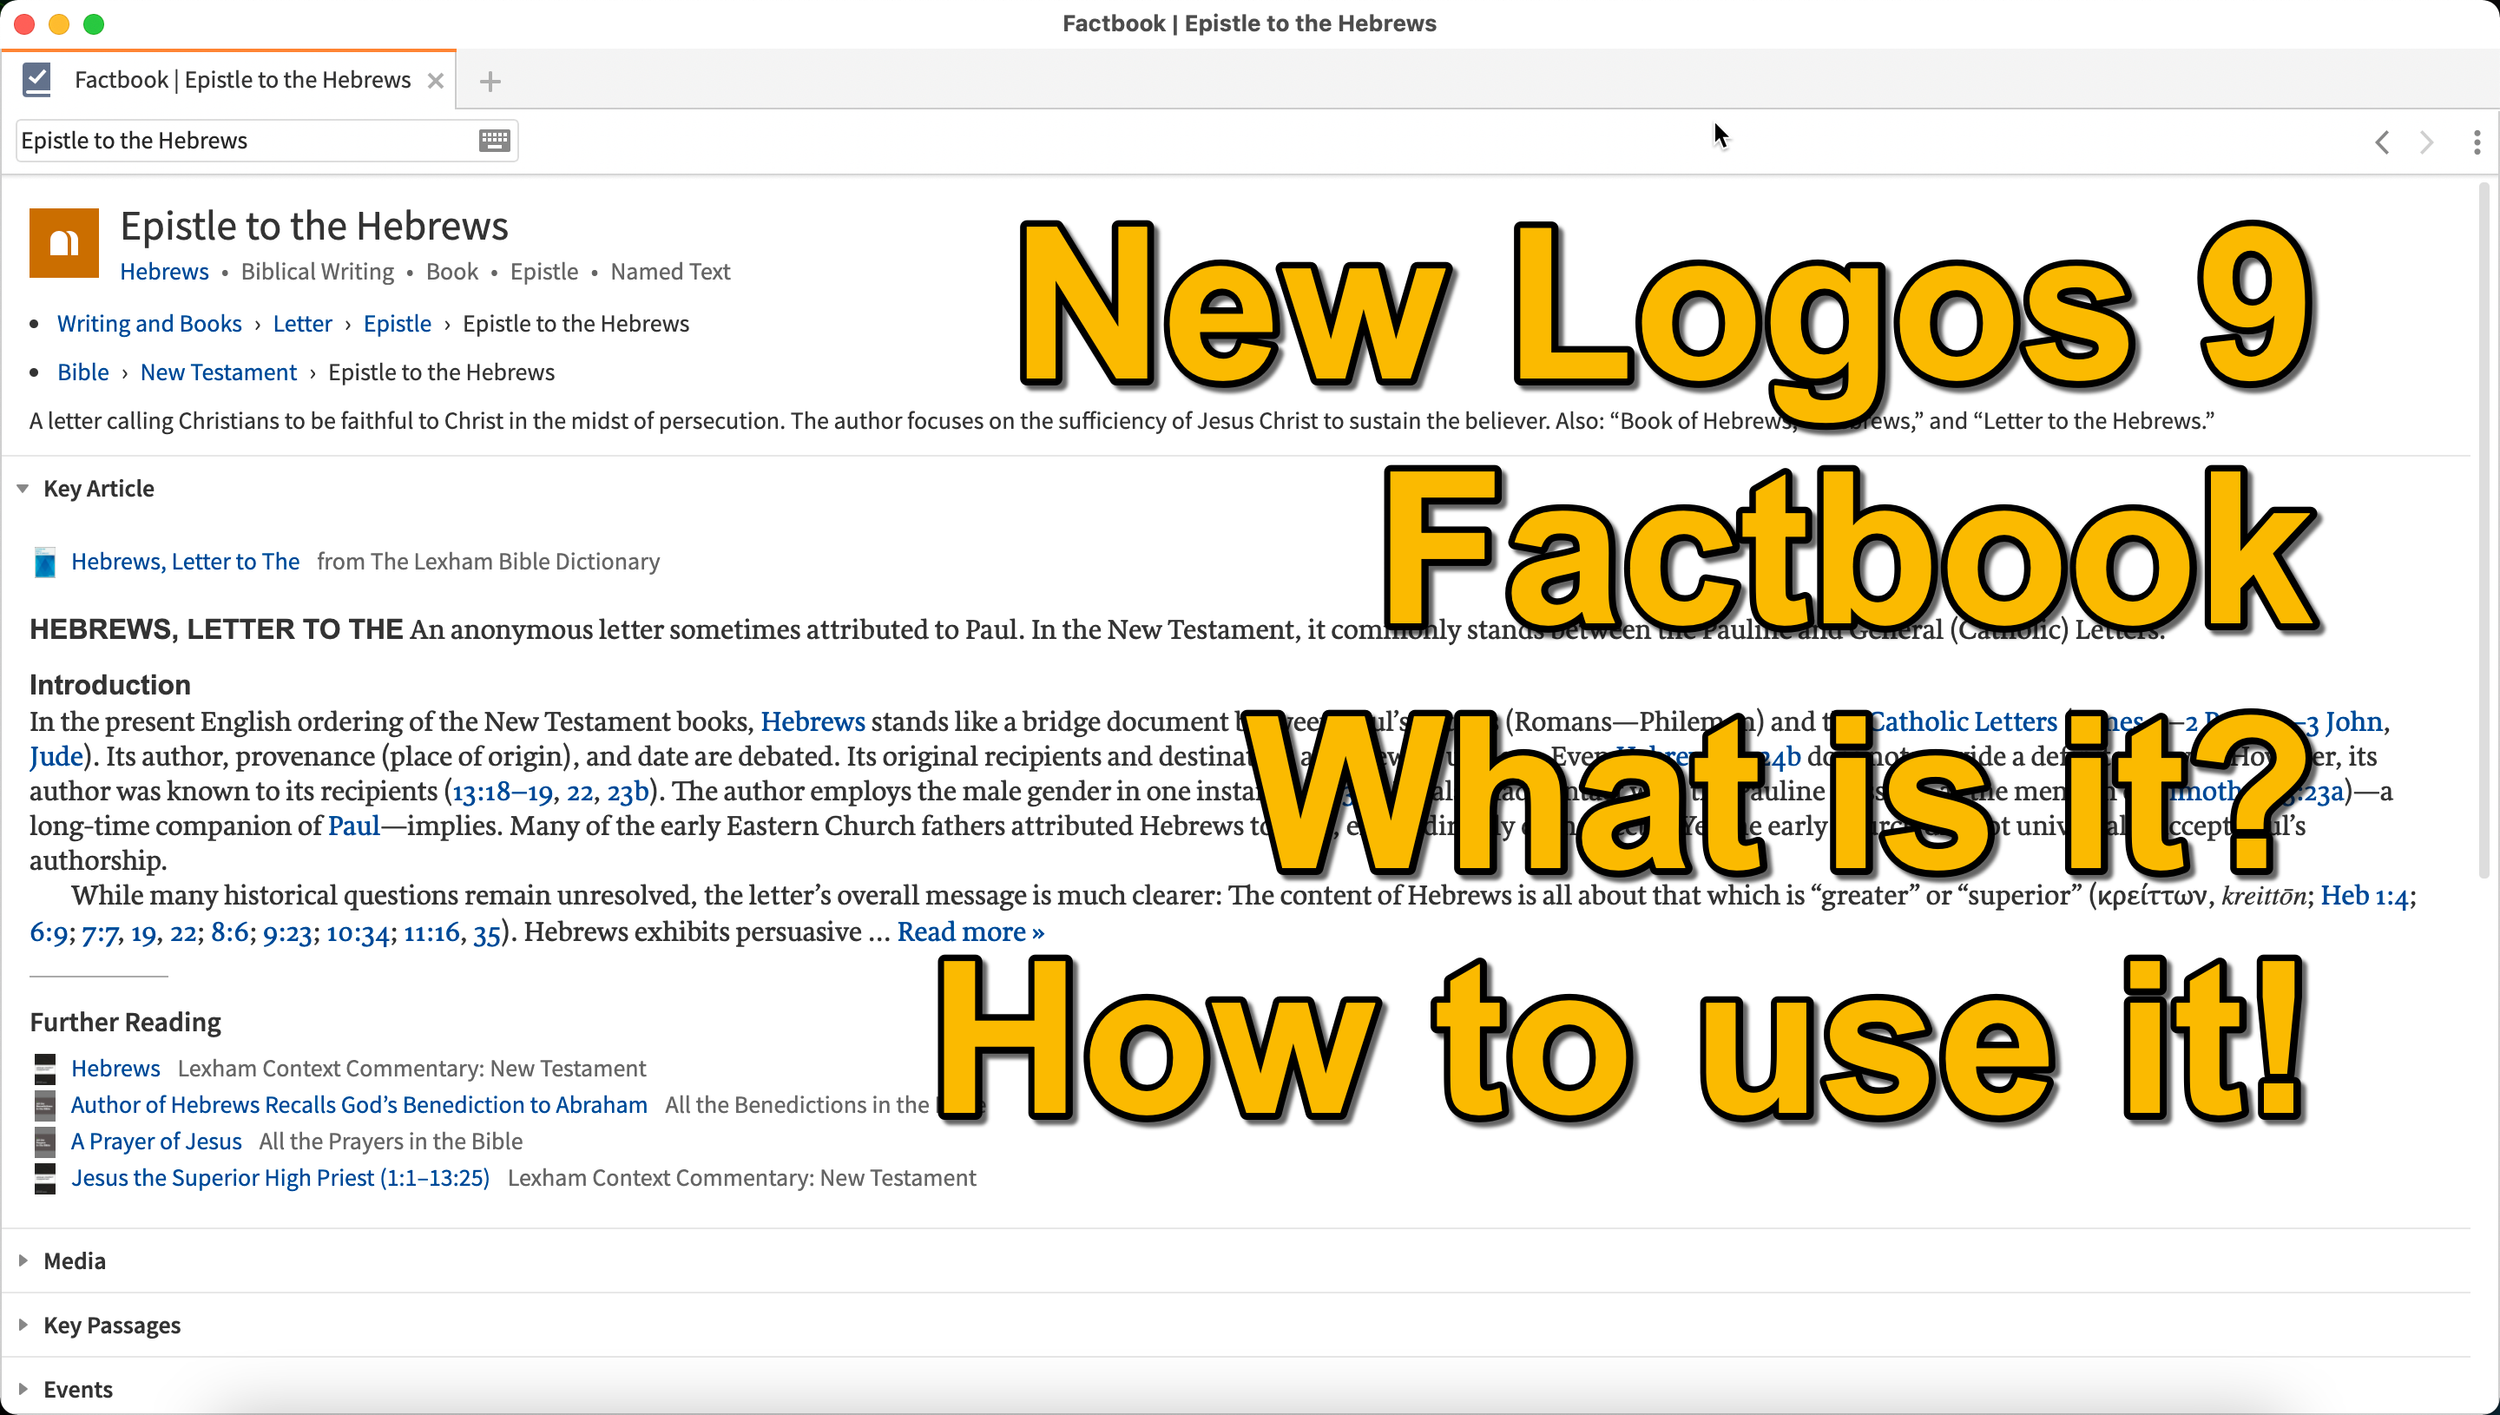
Logos 9 Factbook: How To Get the Most Out of the New Features in Logos 9
What is the new Logos 9 Factbook and how can it help you study the Bible more efficiently. We'll look at it in this series on new Logos 9 features.

What is the Logos 9 Factbook, and how can you get the most out of this new feature if you upgraded to Logos 9? We'll take a look at each of the new features in Logos 9 now that we've had plenty of time to use them.
It's now been six months+ since Logos 9 came out. Since we've had it in hand that long I wrote a 6-months-later review. In addition to reading that, you can see my original post about the release of Logos 9. In this post, we will do a deep dive into all the new features starting with the one Logos made the most of in their advertising of Logos 9, the Logos 9 Factbook.

If you'd like to get a discount on Logos 9, you can use my affiliate link to give you 15% off, some free books, and my appreciation. I get a kickback to help me with expenses related to my website, podcast, and YouTube channels. Use the code PARTNEROFFER9 when you follow that link to get the discount and free books.
What is the Logos 9 Factbook?
Logos says, "The Factbook is one of the most powerful features of Logos, and it makes almost any biblical or theological term easily searchable." I compare it to a Bible encyclopedia on steroids. Just about anything you want to learn about in a Bible text will show up in the Factbook.
Past versions of Logos included the Factbook. However, it received a lot of attention in the update to version 9. A minor update comes in the form of the new icon. It now looks like a book with a checkmark on it.

New Sections in the Factbook
Second, Logos added a bunch of new topics to search for in Factbook. The new things include...
- Biblical Senses - these are translations of the Greek or Hebrew word. Biblical Senses give you an understanding of different ways the original language terms were translated in various places.
- Hebrew & Greek lemmas - you can now start a Greek or Hebrew word study from the Factbook report.
- Counseling Guide - start a study of the counseling guide on topics related to counseling, like marriage or addiction.
- Theological Guide - start a study of theological words or concepts from Factbook.
- Denominational Content - find all content on the topic from a denominational library, like Baptist or Lutheran.
- Lists as Topics - when you search for a topic, like a person's name. You'll see entries in the Factbook with lists related to that person's name or book of the Bible. For example, if I search for Matthew, it will find people named Matthew, topics or preaching themes from the book of Matthew, and more.
- Show All Topics - when you type a search term in the box in the Factbook, it will show a drop-down list of some searches you might be wanting as you type. At the bottom of the list, you'll see Show All Topics, which gives you a new list with all the Factbook topics containing your search term.
- Pericopes as Topics - search for a reference like John 3:16, and you'll get a list of pericopes (passages) with links to open the passage in the Lexham Context Commentary plus Media, Events, Sermons, and a See Also section.
These make up the list of the major new parts found in the updated Factbook.
Other Parts of the Logos 9 Factbook Still Available
Below, you'll see a list of other topics still included (from Logos support). The sections that show up in it are listed below:
- Info - basic information about the item search. This shows up in every search.
- Key Article - a section at the top from one of the common books in your library. Logos says the Lexham Bible Dictionary is an example of the book this Key Article will show. You get part of that article shown there in the list. Faithlife picked what Key Articles will show up for each kind of search item. The company focuses on its own tools, like Lexham Theological Library for original language terms.
- Media - images from any of your media resources.
- Letters - Personal Letter resources by an author if that's what you searched.
- Works - works created by the author showing links either to books in your library or store pages on Logos.com.
- Passages - shows a list of passages, like concordance of the word, topic, or thing. A link lets you instantly create a Passage List from the resulting list in the Passages section.
- Events - links to the Timeline and Biblical Event Navigator if a user owns that book.
- Dictionaries - articles in your dictionaries.
- Preaching Resources - topics from your preaching-themed resources.
- Referred To As - Bible verses organized by the way the search item is referred to with a list of the verses and a graph showing where that shows up in the Bible.
- Cultural Concepts - shows links to the Lexham Cultural Ontology Glossary, "which shows a hierarchy of the concept’s type, and search results for the concept within your Library" (from Logos Support site).
- Library - books in your library with content related to the search item.
- Journals - links to journals in your library with content related to the search.
- Sermons - links to sermons found in your library with content related to the search.
- Community Tags - these are tags that Logos users added to a section related to the search item. If I tagged a part of a book as "grace," then it would show up in other users' searches for grace.
- Bookstore - shows books for sale related to the search item.
- See Also - shows other things in your library that don't fit in the above section.
How to Open the Logos 9 Factbook
To open the Factbook you can do one of the following...
- Toolbar - Click the Factbook icon on the main window's toolbar. Enter what you want to search for in the search box.
- Go Box - start typing in the Go Box, and Logos 9 shows links to Open the Factbook to that topic, word, passage, etc. It also shows up as one of the taps that opens when you enter a search term and hit enter or click on the Go button.
- Tools Menu - You can also open it from the Tools menu. Either look for Factbook or type that in the search box at the top of the menu. Or it usually shows up in the shortcuts area at the top of the Tools menu.
- Context or Right-click Menu - Select a word in the text of your book or Bible and right-click, bringing up the context menu. You'll see the Factbook links in many places usuually in the right when you highlight a subject on the left.
- Visual Filters Button - There's now a toolbar icon in the Bible window for the Factbook. Click to turn it on and from now on you'll see blue dotted lines under words with Factbook entries. Don't confuse those with other solid blue lines that may show up if you've created other visual filters, like I did for parts of speech. Click those words to open a Factbook window for that word.
- Search Panels - When you search for things in a search box, the Factbook sits near the top somewhere in your search results. It moves around depending on what you searched for, but it will show up near the top of the results.

If you use the last method to turn on the Factbook, you can turn on or off what Factbook features will show when you click using Visual filters (see image above). Turn on or off different parts of the Factbook by clicking the down arrow next to the Factbook button. A list with checkboxes shows up, ready to turn off and on.
Bible Book Guides

The Bible Book Guides in the new Logos 9 Factbook shows up when looking at a book of the Bible in the Factbook. For example, if you search for the book of Hebrews, it will show you a section about the book. This section will help if you're going to do a study of a book of the Bible. You'll see the following sections:
- Content - Introduction, outlines, and contents mostly from commentaries on the book that you search for in Factbook
- Origin - Links to the books in your library with information about the book's author, date, and purpose.
- Background - Shows books with content about historical context, recipients of a book, and the author's location when writing the book.
- Objects - Books with geographical, date, location, and key people in the book.
- Canon - Discussions about the canonization of the book.
- Form - Discussions of the book's composition, text, title, style, and structure.
- Meaning - Books with info on the book's themes, emphases, interpretation, theology, significance, and spiritual content.
- Additional Information - Links to Bible dictionaries and commentaries with additional info about the book.

7 Best iOS Bible Study Apps on M1 Macs
What are the best iOS Bible apps that you can run on an M1 MacBook or M1 Mac mini? We offer some suggestions after showing how and asking if you should.

Did you know you can install iOS Bible Study Apps on an M1 Mac? You can, but should you? We'll take a look at the best iOS Bible Study apps that you can install on your Apple silicon Mac with macOS Big Sur.

When Apple released the M1 MacBook Air, Pro, and Mac mini, they possibly revolutionized the computer market with their incredibly efficient Apple silicon processors. These processors speed up things like video editing and encoding on powerful programs like Final Cut Pro. It also makes the MacBook Air or MacBook Pro run fast. But not all Bible study programs built for macOS run faster than they do on Intel-based Macs. So, let's take a look at the iOS Bible Study apps available from the app store.
How to Install iOS Bible Study Apps on an M1 MacBook
If you want to install one of these iOS apps, open the Mac App Store on macOS Big Sur as you would normally. In the upper left corner, you'll see the search box. Note, this doesn't work on older versions of macOS or on any computers that do not use M1 Apple Silicon processors, like the MacBook Pro, MacBook Air, or Mac mini.
Type in the name of an iOS Bible Study app like Logos Bible or Accordance Bible.

The next screen will show the search results for macOS apps. Click on the iPhone & iPad Apps tab as seen below.

This will show you the available apps that you can install on your M1 Mac.
Not all developers will let you install their iOS apps on a Mac. They have to turn this on, so contact them if you don't see it. Below you'll see the ones we like that you can find as of the date this article was published.
Why Only Some iOS Apps Will Install on M1 Macs
Since not all Bible Study Apps will install on an M1 Mac with Apple Silicon, we've got a list that will look different than our favorite five Bible Study apps. When you do see one taht's available it might give you a warning that isn't verified by the developer to run on the computer.

There's a link under the name of most of these apps as seen above. Click it to get an explanation from Apple. It reads as follows:
Most iPhone and iPad apps are compatible with a Mac with M1, but some may not be available because they require capabilities unique to iPhone or iPad. A developer may also choose to make their app unavailable on Mac.
"Not verified for macOS"
Some apps available on Mac may not function as they normally would on iPhone or iPad. For example, features that rely on hardware unique to iPhone or IPad - such as a gyroscope or a screen that supports complex Multi-Touch gestures - may not work on Mac.
That only means the apps that you can install may not work properly and some won't install because the developer chose to block you from installing.

To log into a couple of these apps I had to enter my computer password and/or my Apple account password.
7 Best iOS Bible Study Apps to Install on M1 Macs
Here's our roundup of the 7 best apps to install on your M1 MacBook Air, Pro, Mac mini.

- Logos Bible Study Tools - because the desktop version of Logos runs a little slow, it's not bad to install their iPad app. It's a bit awkward to get it going, but once you do it works well.
- Accordance Bible Software - the best mobile app for use on a Mac comes from Accordance. It runs okay and lets users enjoy all the mobile features. It did crash. a couple of times, but once I got books installed it seemed to run great.

- Bible from Life. church - not technically a Bible study tool but still good to install on your Mac. This gives access to some of the multimedia content in the Bible app but on a computer. You can also use the NASB 2020, something you won't find in many apps.
- Tecarta Bible - this useful study Bible style app works great. Download your tools and run the app. You can't use Tecarta on a Mac any other way.

- Laridian PocketBible - one of the first apps to offer a Mac version for M1 computers came from Laridian. It runs just like it does on an iPad making it one of the best of this breed.
- The Bible by eBible - if you're an eBible user on the web, you'll possibly enjoy using it on your phone, tablet and now Mac. It installs fine, but only runs in a small window.
- Mantis Study Bible - this humble little app was once one of the best mobile apps and it runs fine on a Mac, although only in a small window.
Did I miss any? Comment below which mobile Bible apps you want to see running on the M1 MacBook Air, Pro, or Mac mini?
Should You Run iOS Bible Apps?
All of the discussion about running iOS Bible apps on your new M1 MacBook Air, Pro, or Mac mini begs the question, "Should you run iOS Bible apps or iPad Bible apps meant to run on an iPad or iPhone?"
Most of the time you shouldn't bother. I'm I can now install these apps on my M1 MacBook Pro, but after a few weeks I haven't run many at all. I wanted to run the Logos Bible app because they need to fix a few minor annoyances with their Mac-based software. However, the Logos iOS app doesn't run as well as other apps either. So, I probably won't really run many.
Streaming Church Services Live Using Facebook or YouTube Apps or Pages
Streaming church services live on Facebook and YouTube extends your reach as a church. We'll show you how to use their apps and websites for streaming.

Choosing the right software for streaming church services live actually impacts the rest of the decisions you'll make - equipment, cameras and accessories. If you want to start streaming church services live, then you will need some kind of software. We'll look at using Facebook or YouTube . Churches can choose between using an iPhone or Android phone and the mobile apps for these services. However, you probably should pick a computer with a camera hooked up and streaming using the Facebook or YouTube websites instead of a mobile app.
Here are the other posts in this series:
- The Four Best Camera Styles for Streaming Church Services Live
- Streaming Church Services Live Using Facebook or YouTube Apps or Pages
- 7 Best Tools for Streaming Church Services
- Streaming Church Services Life and Cheap
A lot of streaming platforms exist to help churches. You can buy a subscription to a dedicated service, but they can cost hundreds to thousands of dollars a year. It's also harder to garner an audience if you're a small to mid-sized church using one of these dedicated subscription services like the ones mentioned at the end of our post on the 7 Best Tools for Streaming Church Services. You can find even more services listed at ChurchTechToday.com. They range in price from $25/month to almost $150.

Most people reading this will opt for streaming to Facebook or YouTube since they're free and easier to discover by potential viewers.
Streaming Church Services with Facebook or YouTube Apps from a Phone
The Facebook app on an iPhone or Android phone does a decent job of helping churches share their worship services. However, in our last post in this series we argued for using a dedicated camera for a lot of reasons. You get better images, more versatility and placement is better with a dedicated camera.
However, if you must use an iPhone or Android phone you can go live from their mobile apps. The video below shows you how to stream from your mobile app to Facebook.
People who have enough subscribers can use the YouTube app on their iPhone or Android phone to live stream. The video below shows you how to use the app and how to go live if you don't have enough subscribers. By the way, you'll need 1,000 subscribers on YouTube to go live from the mobile app. But this videos shows you alternatives.
Streaming to Facebook resulted in more engagement for our church than we saw on YouTube. We used to go live on YouTube and would get at most 10-20 people for regular worship services and no more than 100 for special services. We moved to Facebook and those jumpers soared sometimes reaching hundreds of views. We average 80=110 in worship.
Streaming from the Facebook or YouTube Websites
Since it's better to hook up a dedicated camera to a computer for higher quality and more versatility, using the Facebook or YouTube websites will result in better quality streams. Third-party software gives churches more versatility, than the Facebook or YouTube websites. We'll cover that in our next post in this series.

To get started on Facebook, you'll want to set up a Facebook Page for your church. Facebook offers a good help page for doing this. Once you're done following that guide, you can log into your account, go to your Facebook page and then start a live stream. Take a look at the slideshow below.


First, click on the Pages link along the left (first image above). Then click on your page name in the resulting page. On that page click on Live (second image above).

Follow the steps in red above. First click on Use Camera. Then choose your camera and your microphone. Next, along the right, click on drop down menus to choose where you want your video to go. It should read "Share to a Page You Manage" and then the name of the page for your church.
Give your video a title in step 6 above. Make sure the video looks right in the box in the lower right (#7 above). Then when you're ready, hit the Go Live button in the lower left.
The resulting page will show you the feed and you can interact with viewers. I recommend putting a comment in the video and make it stick to the top that reads:
We welcome you to our church's worship service here on Facebook. If this is your first time viewing our Facebook Live worship service, hit the heart and we will get back to you with a special gift.
Now you can send them something special, like a coupon to a local restaurant's take out business and some info about your church. At the very least, leave off the gift and then just follow up with a note.
Since things change quickly and often on Facebook, if the above instructions don't work, head over to Facebook's Live Broadcasting help page.
YouTube Live Streaming Church Services
I prefer streaming to Facebook since most churches will see more engagement, but some prefer YouTube. You might already have a presence on YouTube. If you have over 1,000 subscribers, then you can stream live to YouTube too.


Click on the little camera icon in the upper right corner and choose Go live from the drop down menu. This opens a screen (second image above) if it's the first time you've tried to stream. It asks you to give permission for using your microphone and camera. Hit allow (third image above) and you're reading to set things up.

Give your stream a Title in the top box. Make it public, if it's not alreayd. Then click whether it's made for kids or not. Most churches should click No, not because it's not appropriate for kids, but because you are not targeting kids. You might be in a special service for kids. That comes with a special set of requirements that are not useful for this purpose.

Click on the More Options button at the bottom and make sure you selected the right camera and microphone. Also add it to the right camera by clicking the drop down box above the camera option. Choose Nonprofits from the list. The content above the category comes from the default description from your channel.
The Advanced Settings button opens another screen. Click the Allow Chat on or off depending on whether you want comments. You should leave it on unless you have some special reason for stopping viewers from commenting. Videos with comments get more engagement on YouTube.
Since you're a church, you should not take ads, so turn off the option that reads "This contains paid promotions...". Not click the back arrow. Then click Next and it will take a photo as a thumbnail. You should later replace this with a branded image for your church.
Next, you'll see a Stream preview. You can edit the details and share the stream on social media. In the Live Chat you should add a post targeting guests. Ask them to respond so you can follow.
Hit Go Live and you're streaming. When it's over you can end the stream and save it. You will want to edit things now like the thumbnail.

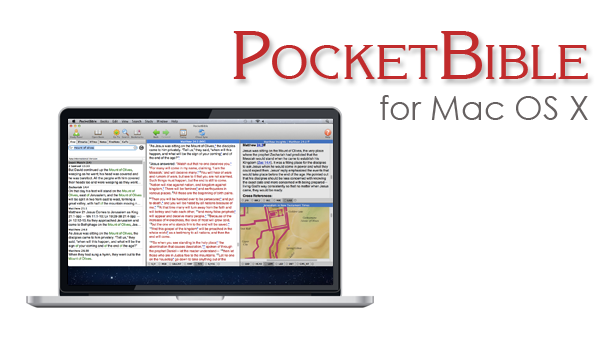
Laridian PocketBible for Mac 1.3 Update Released
Laridian PocketBible for Mac version 1.3 hit this week with a few new features for users of the deceptively simple yet powerful Bibles study tool. One notable feature includes support for Laridian's latest Bibles that display text in a more useful way. This includes one example, mentioned in an email from Craig Rairdin, Laridian's CEO and chief programmer. The NIV with Goodrick-Kohlenberger Numbers will not support Laridian PocketBible for Mac.
How to Install Laridian PocketBible for Mac 1.3 Update
To get this free update you only need to select Check for Updates in the Laridian PocketBible for Mac menu at the top left of the Mac menu bar (see below). The download will install bringing your copy up to vision 1.3.
 If you own a copy of Laridian PocketBible for Mac but don't already have it installed, then go to the company's website and log in. Click on Download from the top of the website or click on the link labelled Mac OS X along the right side under Download Our FREE PocketBible App! as seen above. This puts a DMG file most likely in your Downloads folder. Double click it and then drag the PocketBible icon into the Applications folder seen in that window that pops up when you download the DMG file.
How to Install Books on Laridian PocketBible for Mac
You will need to register the program after you open it for the first time. MacOS may give you a warning before it opens the newly installed PocketBible for Mac, but it's save to let it open. Then register by typing in your email and password. If you're installing this for the first time not your Mac, then click on the Books (#1 above) menu at the top next to the PocketBible menu on the left side. Then click on Cloud Library or if you prefer use the keyboard combo CMD+L. This opens the screen that lets you install books. You can install all books by clicking the Download All Books (#2 above) button on the lower left of the window. You can help yourself to find only new books by click on Hide books already downloaded (#3 above).Aside from supporting new Laridian Bible formats, they also fixed some minor bugs. There was something they called "wiggling" that happened when you moved to a new verse. Text would "wiggle". I've not seen this, but I'll take Mr. Rairdin's word for it that he fixed it since I don't see it in v. 1.3.
Lairdian PocketBible for Mac Advanced Feature Set Updates
If you own the Advanced Feature Set, then you can hover over a Bible reference and your settings will let you either show or hide the footnotes in a pop up window. You can add the set from the PocketBible menu. The Advanced Feature Set costs $9.99/year on Mac only and $17.99/year for all platforms. Some of the benefits of the Advanced Features Set include (copied from Laridian's website):
- Searching enhancements - search your entire library in one operation (normal search applies only to the active book).
- Note-taking enhancements - create Journal Notes that are not connected to any Bible verse or reference book. Will sync with other versions of PocketBible that have this feature (currently iOS).
- Automatic Study Options
- A Library Navigator shows you everywhere in your library that the current Bible verse is discussed.
- Automatically produce an in-depth study of any verse using all (or selected) books in your library.
- Automatically produce an in-depth study of any word using all (or selected) books in your library.
- Automatically produce a document containing today's (or any day's) Bible readings using one or more devotionals and one or more Bibles from your library.
- Hover over Bible links in books to quickly read the verse from your preferred Bible.
- Highlighting Enhancements
- Rename your highlight colors to be more relevant to the purpose of the color.
- Speech Synthesis Enhancements
- Uses built-in OS X speech synthesis to read a selected passage, read the linked-to Bible verses, or start reading until it is told to stop.
- Choose custom voices and speaking rates for English books, Spanish books, and the Greek New Testament.
- Layout Enhancements
- Create multiple, named screen layouts for different purposes (for example, one for devotional reading, one for lesson preparation, and one for note-taking during sermons).
- Create a special layout for devotional reading that will be activated when the Today button is pressed.
- Maximize a book to use the entire PocketBible Window.
- Maximize a pane to use the entire PocketBible Window.
- Miscellaneous
- Control Special Offer notifications telling you about recent discount offers for which you have been made eligible.
- The Study Panel uses a small toolbar instead of text tabs.