


How to Add an SSD to a Mac Without Opening the Computer
We'll show you how to add an SSD to a Mac without opening the computer. This uses an external drive to boot and run the OS.
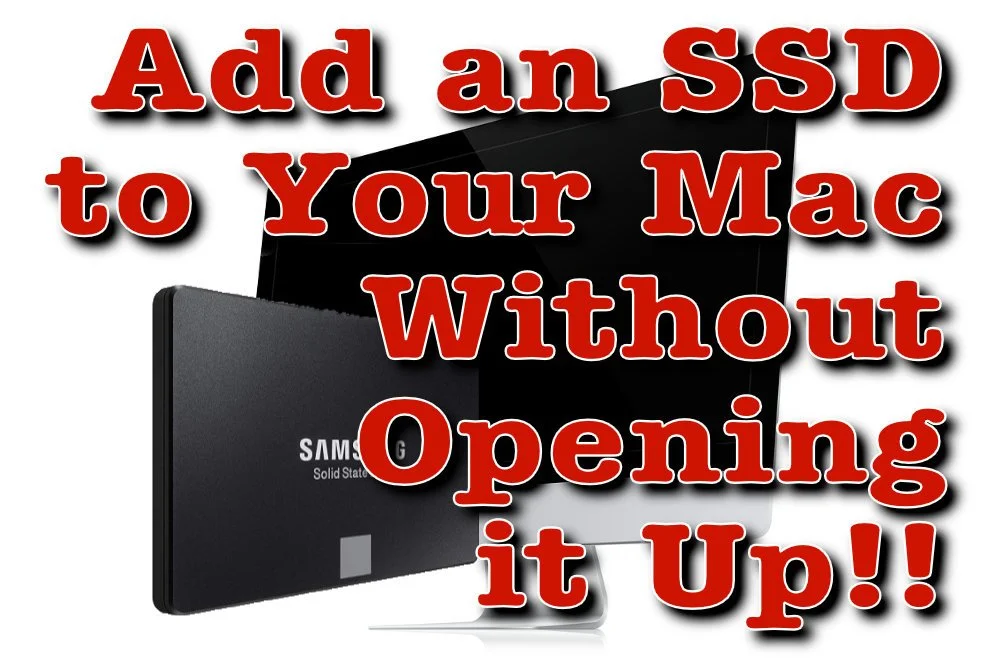
Apple charges ridiculous amounts for larger capacity solid state drives as an upgrade to a Mac. Here's how to keep from paying hundreds. We'll show you how to add an SSD to a Mac without opening up the case. The external SSD runs faster than an internal spinning hard drive. Today, Apple computer owners can't upgrade their internal drive. If you can, it 8takes some real skill to crack open the case and replace the internal drive.

Why Add an SSD to a Mac?
Let's say you bought a computer with a 128GB drive. Now that you've installed your large Bible study library all of your movies and the 10 years of digital photos you shot, the computer says it won't even let you install that tiny app from the Mac App store or download a new commentary series to your Bible software. The computer's running out of space.
The solve the problem of a full hard drive you have to add storage or replace the hard drive. In the old days we took off the bottom of the MacBook, unplugged the old drive and put in a new one. Replacing the drive in a Mac mini or iMac got a little more complicated, but the owner could still do it or take it to any computer shop. Today, you'll have to run through a complicated set of steps if you can even do the upgrade. A lot of Macs won't let users upgrade their storage without replacing the whole motherboard. Apple likes that because they want you to buy a new $2,000 computer or pay stupidly high prices at the time of purchase.

At the time of purchase, the upgrade to a 1 TB SSD on a Mac mini or MacBook Pro will cost $800. They charge $700 on an iMac. Compare that to buying an internal SSD from Amazon, which costs as low as $125-$175 for a base level 1TB internal SSD. You can get a really great high-end drive like a Samsung EVO drive for about $300. Add an enclosure for $20-$50 and you're saving a lot of money.
Can I use an external drive as my main startup drive to run macOS and all my programs? Yes. I did this on a Mac mini for years before I learned how to crack the thing open to upgrade the drive with an internal SSD. The process of using an external SSD worked great.
An external SSD won't run as fast as an internal SSD from Apple. That's not the comparison that matters. Look at the speed of the slow internal traditional spinning hard drives Apple uses and you'll notice a big speed increase by booting from an external SSD connected to the computer's mini-DVI port or a USB-C Thunderbolt port.
What You Need to Add an SSD to a Mac
Here's what you'll need to add an external SSD to your Mac, copy the internal drive over to the external and then tell the computer to boot from the external drive instead of the internal drive.
- An SSD (internal or external)
- A 2.5-inch hard drive enclosure, unless you choose an external solid state drive (more on that below)
- Software to copy the contents of your old internal hard drive to the new external drive
- A way to attach the new external drive to your laptop
Choose Your SSD
You have to decide if you want to save some money by getting an internal SSD and a hard drive enclosure or do you want to get a simpler external solid state drive that usually costs more.
Consider the SanDisk 1TB Extreme Portable External SSD. It connects via USB-C and costs under $200 on Amazon. Or you could get the Crucial MX500 1TB 3D NAND SATA 2.5 Inch Internal SSD for about $135 also on Amazon.

If you go with the second option, you'll need to put it in an enclosure. That's a little box that you install the drive in. It comes with the cable to hook it up to your USB-C port on your Mac. Take a look at the $15 enclosure from Aukey (see above). Some older Macs don't have USB-C so get an enclosure that plugs into a USB 3.0 port, which won't run as fast, but will still run faster than an internal spinning hard drive. You'll find a bunch of them on Amazon.
If you go with the internal SSD and drive enclosure, then install the new drive in the enclosure. Follow the instructions that came with the enclosure.
Copy the Old Drive to the New External Drive
To copy the old internal drive contents to the new external drive, plug the external drive into the USB C or USB 3.0 port. Make sure it's ready and working. You may want to open Disk Utility on your Mac. It's in the Utilities folder of your Applications folder. You can also use the keyboard shortcut COMMAND+Space Bar to open Spotlight Search. Type Disk Utility and make sure it's selected and hit enter or click on it with your mouse or trackpad.
The video above from the folks iFixit at shows exactly how to format the drive and then use the utility below to clone your Mac hard drive to the new SSD.

Select the drive in the list on the right. Be careful to select the external drive and not your internal drive. Then click on Erase on the toolbar.

Give the new drive a title, choose Mac OS Extended (Journaled) in the Format: section and GUID Partition Map in the Scheme: section. Click on the Erase button in the lower right corner of the dialog box that pops up. Let it finish erasing the drive.
Next, head over to the SuperDuper! website and get the file by clicking Download in the upper right corner o the webpage (as of January 2019 - location of the link may change). The downloads a DMG image file.
Install SuperDuper! on your computer. You'll have to give it special permission since a box pops up that says:
macOS will not allow SuperDuper! to copy your drive until you authorize us to do so.
This is done by adding the SuperDuper! application to the "Full Disk Access" section of the Security & Privacy preference pane in System Preferences.
Quit SuperDuper! and we'll open the proper preference pane for you. Once you've added us, re-open SuperDuper! and you should be good to go.

Follow those instructions to make SuperDuper! work. This happens by hitting Quit and it opens the Security Settings screen. Click the little Lock icon in the lower left (see above image) and enter your computer password. Then under the list box click the plus icon and choose SuperDuper! from your list of Applications.
Now you can run SuperDuper! to copy the internal drive to the external drive. The first time you run the utility it will open a comprehensive help file in the Preview program or whatever you use to read PDF files by default.

In the first Copy drop down box (upper left) choose the Macintosh HD. In the second drop down box choose the new drive you just erased. Look for the name you gave it in Disk Utility. I didn't enter one so mine says Untitled. You don't need to change an Options. You can schedule the operation for a later date if you prefer. If not, just hit Copy Now and let it copy. Don't do anything because you might add files while it's copying and that could mess things up.
Boot with New External Drive
It's time to test out the new external drive. Close everything and restart the computer by clicking on the Apple icon in the menu bar's left end. Choose Restart. Let the Mac restart. When it begins to start back up hold down the OPTION key on the keyboard. The computer will show the drives available to boot from. If SuperDuper! worked properly, then you'll see at least two drives. Choose the new drive (the internal will sit on the left and the new drive on the right).

After you select the new drive let the computer start. It should work fine and start up like it did before.
If the new drive makes things faster than the internal spinning hard drive, then everything worked properly. If not, something's wrong. Let everything that runs at startup. Give it a minute and start launching programs.
Run this way for a few days to weeks just to make sure it continues to work. Then if you want you can erase the internal drive and use it as a second drive to store things like media (videos, music, photos) and documents.
Attach the Drive to Your MacBook
You might now want an external drive hanging off your laptop computer. This is the biggest argument against doing what we're suggesting in this how to. However, if you don't mind the external drive the you're done. However, you could attach the drive to your computer so it stays put while carrying the computer around.
Get a case or cover so you're not putting stickers directly on the computer. Find one online that looks the way you prefer. Then find some velcro that you can attach one side to the case and one side to the external drive. Plug in the cables and make sure there's enough cable to let you open the computer's lit while it's plugged in.
People who own a Mac mini or iMac can put the drive on their desk. You don't have to worry about affixing it the computer itself, unless you just want to clear up desk clutter.

Logos 6 Speed: One Way to Always Pep Things Up
One complaint Logos 6 users often share with me is the speed of the system. So I want to give you one tip that will ALWAYS speed up Logos 6 and, with the right collection of specs in a computer, make it even fast. The tip: think carefully about what kind of internal storage you get in your computer. But first some background. I review a lot of laptops. I worked on about five or six reviews during the summer/early fall for Notebooks.com. One of those systems was an Acer Aspire E 15 model E5-573G-56RG. Key specs included:
- Intel Core i5 5200U (4th gen)
- NVIDIA GeForce 940M with 4GB of dedicated VRAM
- 8GB of DDR3L RAM
 That's a pretty spiffy system. They're the best specs of any of the systems I've tested over the last two months and they're higher than my own Windows computers that I regularly use, a Surface Pro 3 and an older Lenovo ThinkPad T431s laptop. If you look at the list above you'll notice one key spec I left off, the hard drive.Most of the systems I've reviewed recently and my two personal computers have SSDs. That's a solid state drive that doesn't come with spinning platters where the data gets stored and the platters must spin to reach the bits. Think of a record player, if you know what one is. The hard drive uses a head the reads the bits on the spinning drive. With an SSD the bits get stored on fast flash memory and it's very fast compared with the traditional hard drive.https://www.youtube.com/watch?v=wteUW2sL7bcThe Acer Aspire E 15 had a 1000GB 5400rpm spinning hard drive instead of an SSD. That's a lot of storage. My Surface Pro 3 only comes with 128GB and I can't put everything on it. My Lenovo runs on a 500GB SSD that I put into the machine myself. I store all the programs I need but my video and picture files don't fit. They'd fit fine on a 1TB drive, which is what I use to back them all up. It's big and bulky, so I'd love an internal drive. However, a 1TB SSD costs $350 to $500. I will probably get one if they drop any more. I'm still not willing to fork over that much.
How to Speed Up Logos 5 with an SSD
 As I shared above, Logos runs great on all my computers. I never considered how important an SSD was until I installed it on this fast Acer machine. Logos 6 runs on it like an octagenarian sloth whose imbibed too much strong drink. Why? Logos needs a fast processor, lots of RAM plus a fast hard drive. The SSDs in all of my computers make up for the fact that some of them don't run on fast processors. I tested Logos on an HP Stream 13, a computer with an Intel Celeron Processor and 4GB of memory. It struggled to run Logos because it took forever to index the large 18GB library I own. But once indexing quit in ran reasonably well. Logos 6 ran on the Acer slightly better than the Stream, but with a fast SSD it would have run circles around anything else I own.I could only conclude that a fast SSD has to be the one thing that speeds up Logos 6 faster than any other spec in the machine.
 Here's the point: GET A FAST SSD TO RUN LOGOS 6!There's more to the equation than a fast SSD. My HP Stream 13 with a slow Celeron processor proves that. It's also a problem because the SSD is only 32GB and a large library will gobble up nearly all your free space. Windows 10 plus Office and Logos left me with barely a GB of free space. That's not enough because Windows uses the hard drive or SSD to cache the operating system and programs we're running. The OS puts it into memory and when it gets full, it stores some of it in a cache file on the hard drive.To understand that, imagine you've got a bottle of milk. You start pour it into a bowl of cereal, but the cereal and milk start to pour over the sides of the bowl. You don't want to lose your milk or Captain Crunch so you quickly grab a plate to catch the overflow. In that analogy the milk is the Windows 10 and the Captain Crunch is Logos 6. The bowl is the 4GB of RAM your system says it has and the plate under the bowl is the cache file that temporarily stores the overflow.I've run Logos on systems with 2GB, 4GB, 8GB and 16GB of memory. The 2GB system struggles to keep up, but the 4, 8 and 16 perform similarly while running Logos.I've run Logos on Celeron, Intel Core iX, AMD systems. I've run it on systems with integrated graphics and dedicated graphics. None of those changed the speed of Logos as much as going from a spinning hard drive to a fast SSD.